应用ubuntu来搭建一个django网站,在腾讯云上之二
n5321 | 2024年12月3日 16:46
跟直接在云上操作不同,准备在本地全部弄好之后再sync到云上
Steps:
绑定ssh
python -m venv venv venv\Scripts\activate
pip install "django==4.2" -i http://mirrors.aliyun.com/pypi/simple/ --trusted-host mirrors.aliyun.com
pip install summernote -i http://mirrors.aliyun.com/pypi/simple/ --trusted-host mirrors.aliyun.com
pip install "gunicorn" -i http://mirrors.aliyun.com/pypi/simple/ --trusted-host mirrors.aliyun.com
pip install "psycopg2-binary" -i http://mirrors.aliyun.com/pypi/simple/ --trusted-host mirrors.aliyun.com
django-admin startproject myproject .
python manage.py migrate
python manage.py createsuperuser
python manage.py collectstatic
python manage.py runserver
初始化 Git 仓库
git init git add . git commit -m "Initial commit"
git remote add origin ubuntu@124.220.90.88:/home/lighthouse/myproject.git
ssh ubuntu@124.220.90.88(前提)
git push origin master
pip install -r requirements2.txt -i http://mirrors.aliyun.com/pypi/simple/ --trusted-host mirrors.aliyun.com
中间有对git的应用。学习的内容如果不能嵌入生活,好像是无法真实理解的。只是记下、或者背下若干名词,概念,固化思维而已。
3. 在云端服务器上部署 Django 项目
3.1 在服务器上获取代码
SSH 登录到你的云服务器,然后在项目目录中执行以下命令:
bash
复制代码
git clone /path/to/your/repo.git .
如果你已经克隆了项目,可以使用以下命令来获取最新的代码:
bash
复制代码
git pull origin master
3.2 设置 Python 虚拟环境
在服务器上,设置虚拟环境并安装依赖:
bash复制代码
python3 -m venv myprojectenv
source myprojectenv/bin/activate
pip install -r requirements.txt
确保你的 requirements.txt 文件包含所有依赖。可以在本地生成这个文件:
bash
复制代码
pip freeze > requirements.txt
3.3 运行 Django 项目
配置和运行 Django 项目:
bash复制代码python manage.py migrate
python manage.py collectstatic
你可以使用 gunicorn 来运行 Django 项目(在生产环境中):
bash
复制代码
gunicorn --bind 0.0.0.0:8000 myproject.wsgi
4. 配置 Nginx 和 Gunicorn (可选)
为了使 Django 项目在云端能够通过域名或 IP 直接访问,你可以配置 Nginx 作为反向代理服务器,将请求转发给 Gunicorn。
总结
在本地创建 Django 项目并进行开发。
使用 Git 进行版本控制,将代码推送到云端服务器。
在云端服务器上拉取代码并进行部署。
配置 Nginx 和 Gunicorn 来运行生产环境中的 Django 项目。
这种方法让你能够在本地开发和测试项目,然后轻松地将变更同步到云端服务器,并在云端进行生产部署。
pip freeze > requirements.txt 是导出 Python 依赖的标准做法。
上传 requirements.txt 并在服务器上安装依赖,以确保部署环境的一致性
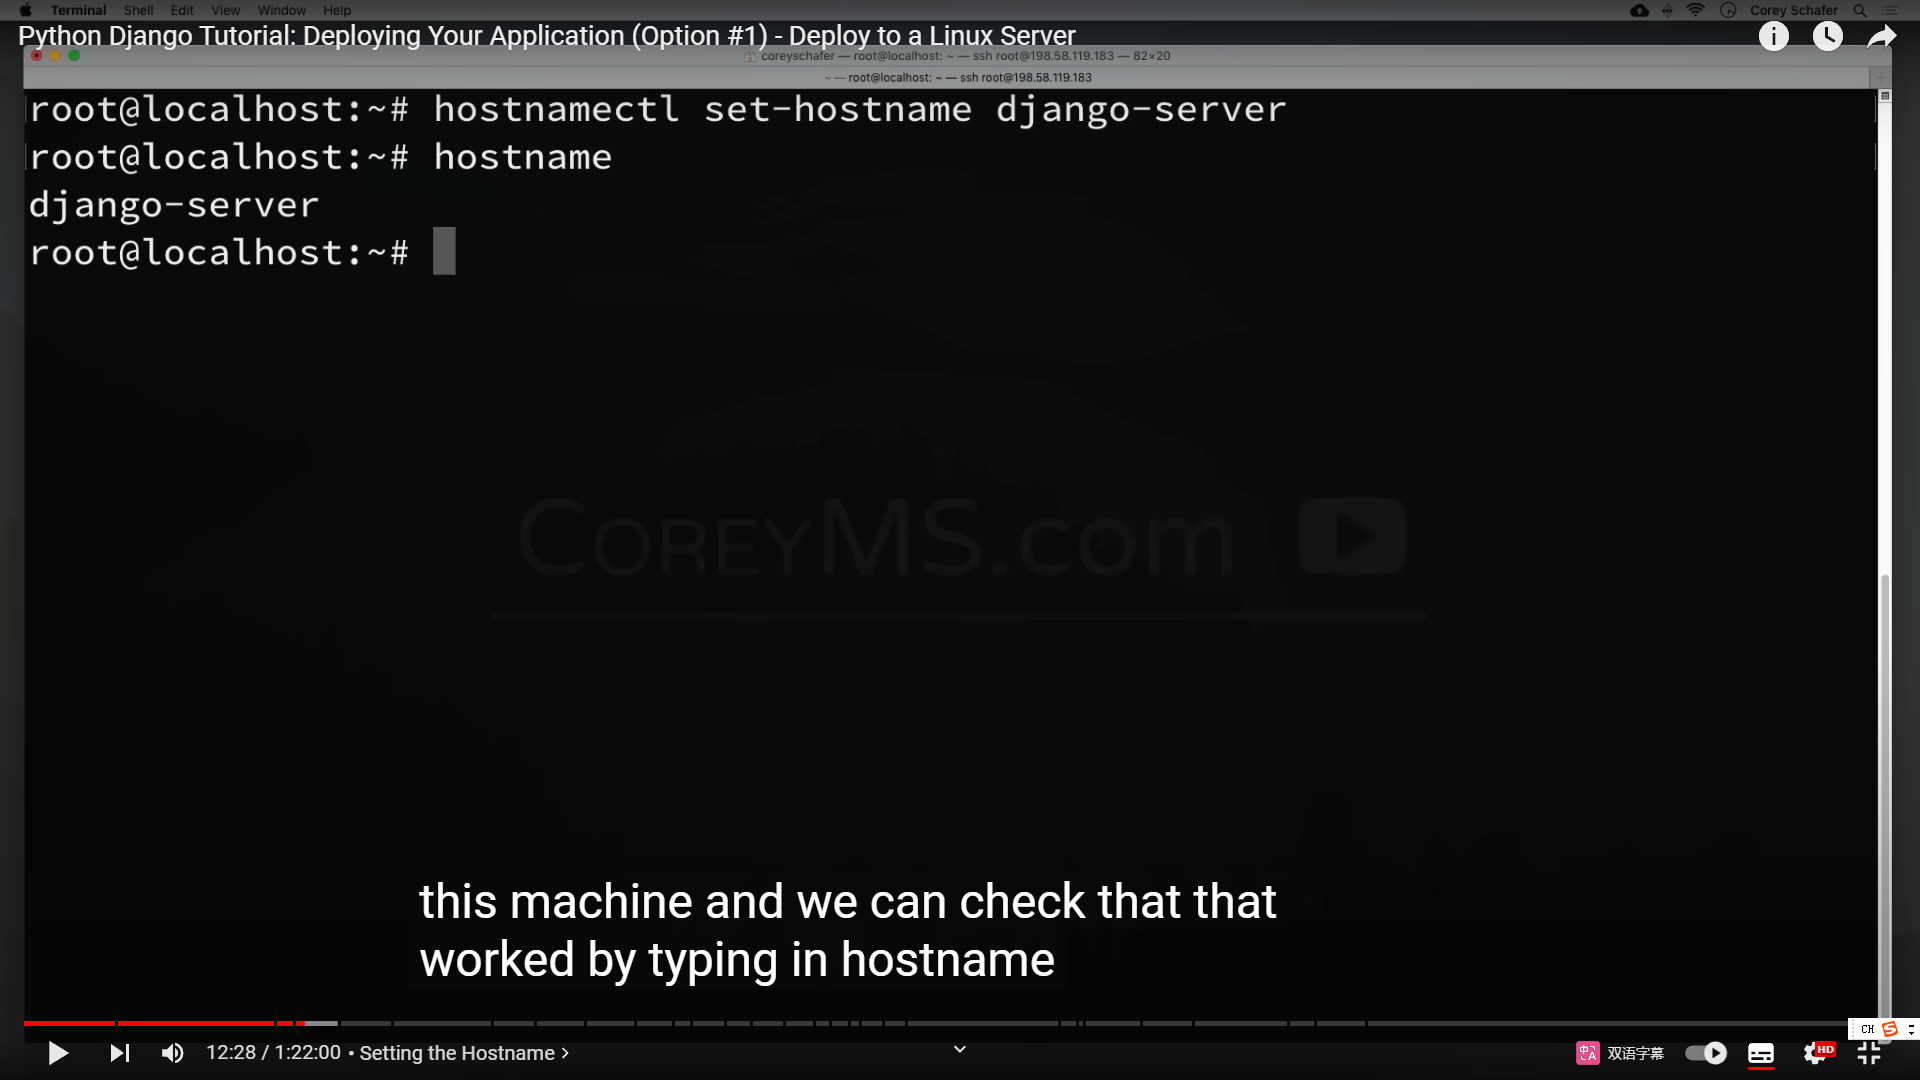
这个hostname是用来干什么的?
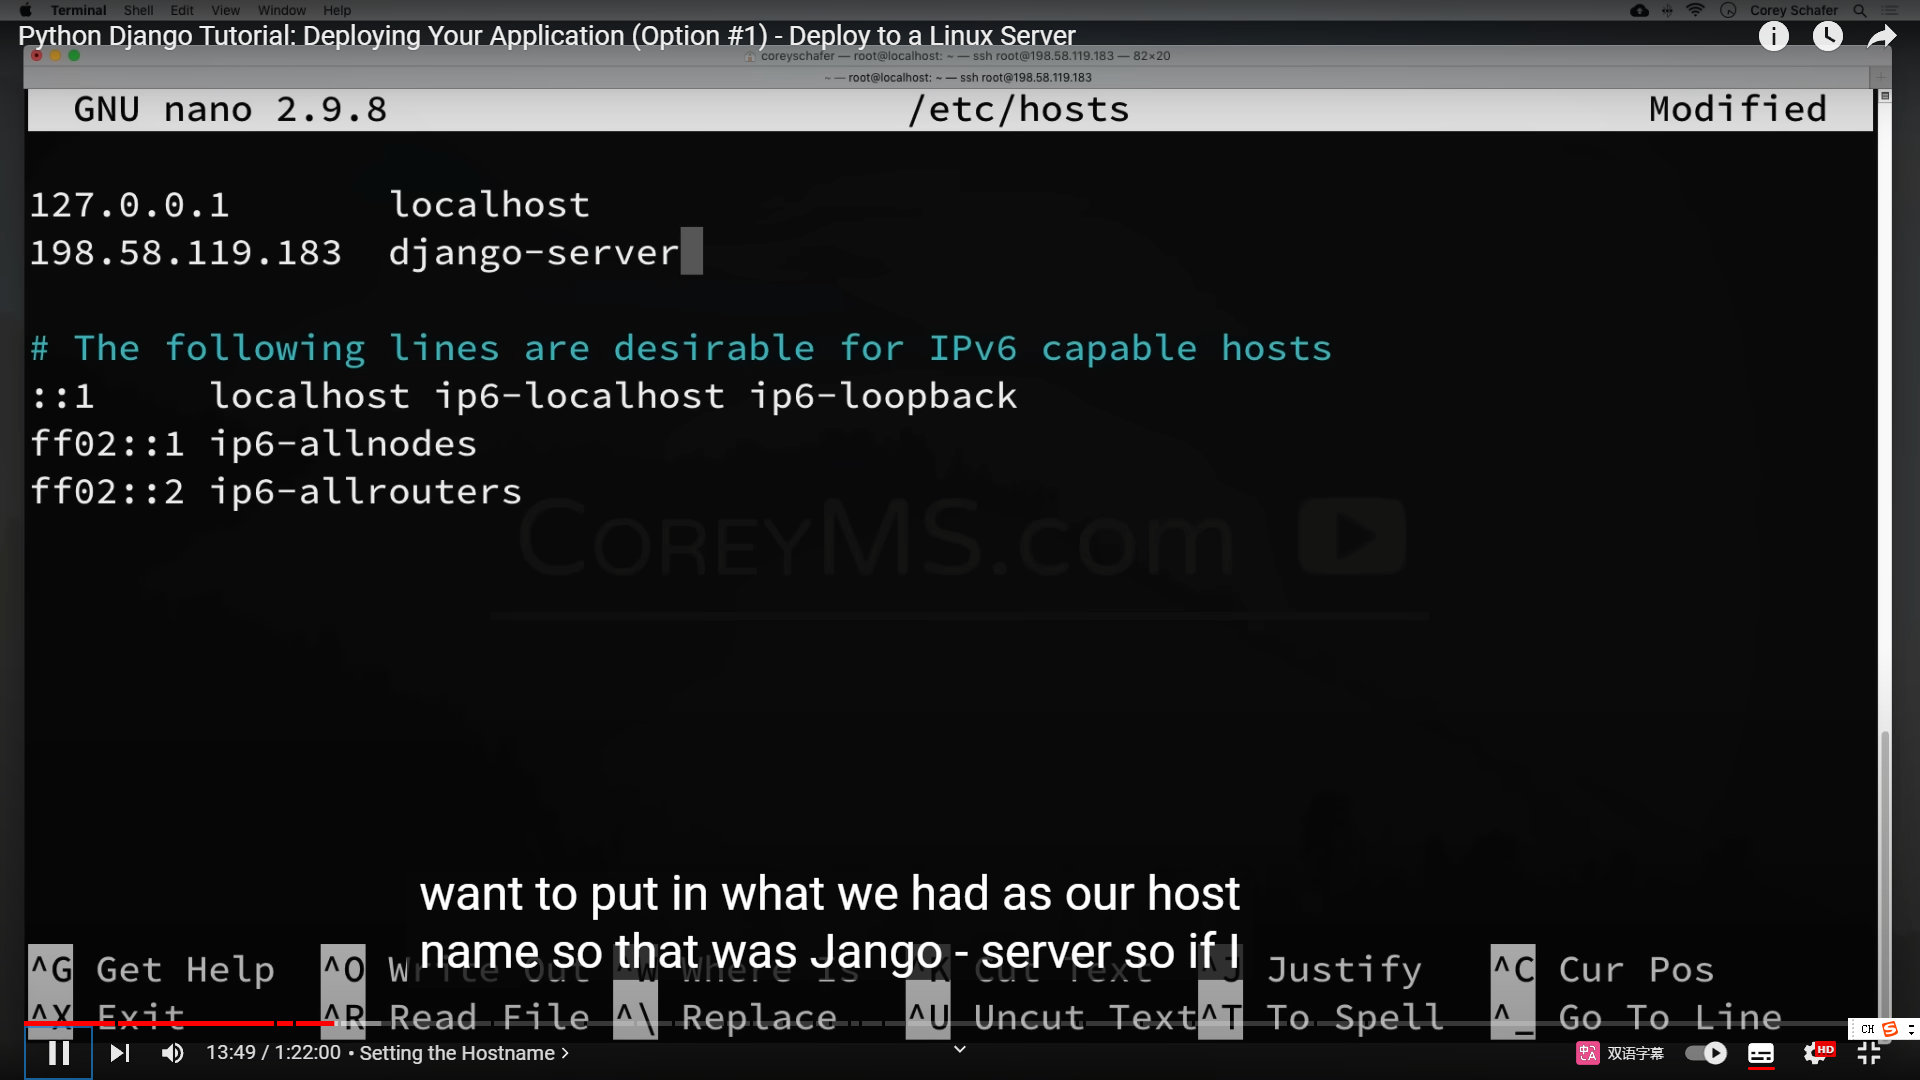
nano搞edc/hosts 这个是要搞什么的?
adduser coreyms sudo
搞ssh不要输入密码
按这个教程的操作
sudo apt update sudo apt install python3-venv python3-dev libpq-dev postgresql postgresql-contrib nginx curl
sudo apt upgrade -yCREATE USER myprojectuser WITH PASSWORD '1234asdf';
pip install gunicorn -i http://mirrors.aliyun.com/pypi/simple/ --trusted-host mirrors.aliyun.com
pip install psycopg2-binary -i http://mirrors.aliyun.com/pypi/simple/ --trusted-host mirrors.aliyun.com
pip install "django==4.2" -i http://mirrors.aliyun.com/pypi/simple/ --trusted-host mirrors.aliyun.com
sudo apt-get install python3-pip python3-dev libpq-dev curl nginx -y
sudo apt install postgresql postgresql-contrib -y
sudo mkdir /var/www/html/djangoapp
sudo virtualenv /var/www/html/djangoapp/djangoenv
sudo nano /etc/systemd/system/gunicorn.socket
sudo nano /etc/systemd/system/gunicorn.service
sudo nano /etc/nginx/conf.d/django.conf
sudo chown -R www-data:www-data /var/log/nginx/
sudo chown -R www-data:www-data /run/nginx.pid
user www-data
sudo systemctl restart nginx
sudo nginx -t
CREATE USER djangouser WITH PASSWORD '1234asdf';
-i http://mirrors.aliyun.com/pypi/simple/ --trusted-host mirrors.aliyun.com
~/myprojectdir/manage.py makemigrations ~/myprojectdir/manage.py migrate
gunicorn myproject.wsgi:application
sudo nano /etc/nginx/sites-available/default
sudo chown ubuntu /etc/nginx/sites-available/default sudo chmod 666 /etc/nginx/sites-available/default
uwsgi --http :8000 --module djangoapp.wsgi
CREATE USER myprojectuser WITH PASSWORD '1234asdf';
django-admin startproject myproject .